Showing posts sorted by date for query finished object. Sort by relevance Show all posts

Wednesday, November 19, 2008

Sock Design Workshop, part 2

Or, A Word on the Importance of Blocking. I know what you're thinking, but please keep reading anyway.

This is part two of a monthly series in which I try to share bits of knowledge I've learned over the last few years as a new designer. Not always about socks, but it is so named anyway.

Part one discussed the submission process. Today I'll talk about something that is critical to the process, but not so glamorous.

Blocking!

Why:
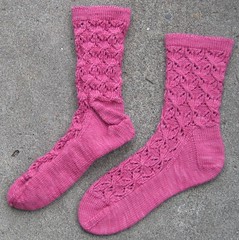
Unblocked Esther socks

One looks pretty. One looks like dog business. The difference? Blocking. If you are submitting as a designer, you absolutely cannot skip this step, even for swatches. If you are knitting for fun, I hope you'll consider blocking your knits too. At least for the show and tell photo.

You probably know this, but blocking means shaping a wet finished knitted piece to achieve certain results, like altering the measurements, evening out stitches, and opening up lace.

Something I learned the hard way is that lace looks terrible until it is blocked. Not just mine, but everyone's. Always.

There are many methods of blocking, I'll mention a few of them here.

How:

1. Wet blocking. This is almost always the method I use. It's simple and effective. Fill up the sink with water and some gentle wool wash. Squeeze the air bubbles out of your knitted item very gently and let it soak for a few minutes. Drain the sink and gently squeeze the water out of your knitting. Do not rinse. Lay it out on a towel and roll it up, drawing the water out of your knitted object. Finally, lay it out on a dry towel and pin it in place. Or use a blocking tool, as described below.

2. Steam blocking. I've done it, but not often. I find it fussy because it involves an iron or steamer, two items rarely making an appearance in my home. This is a good method for fibers that are delicate or stretch out a lot. Also, it's for you if you are the kind of person who has an iron handy. Congratulations, by the way.

Lay a wet towel on top of your knitting and press it here and there, releasing steam into your object. You can also skip the wet towel and hit the steam button (or use a steamer) over your knitting. When done, pin and let air dry.

3. Spray blocking. I've used this technique with delicate yarns or when the finished piece looks pretty good without any blocking at all. It's quick and easy. Pin the piece in place and spray until damp. Leave it alone until it's dry.

Tools:

1. Rust-proof pins. Avoiding rusty stains on your knitting just makes sense.

2. Blocking wires. These are great for large lace projects. You thread thin wires through the edges of your knitting, instead of 10,000 pins.

3. Sock blockers. I use these constantly. I bought them here. You can also make your own. I wash finished socks and put them on the blockers and basically forget about them for a couple of days. Easy.

In Conclusion:

Yes, blocking makes a huge difference in your finished object. It also says something about you as a knitter. That you care enough about your work to make it the best it can be. You've already invested time and money into the project, why stop short on the final step?

If you are reading this, then you've actually made it to end of a lecture on blocking. Well done! You get extra points for sticking it out. You will undoubtedly have the last laugh when you show off your next properly blocked finished object. Ha!

Wednesday, May 21, 2008

Leaves of Grass

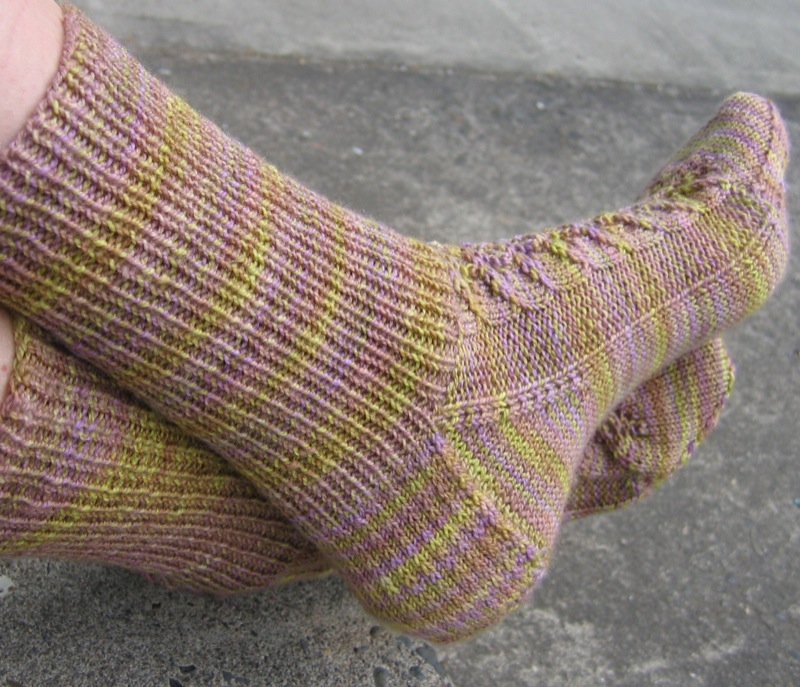
The challenge: Knit a pair of socks without a pattern. The solution? Re-visit the old knitlist circa 1997.

Pattern: Leaves of Grass Anklet socks by Marilyn Roberts

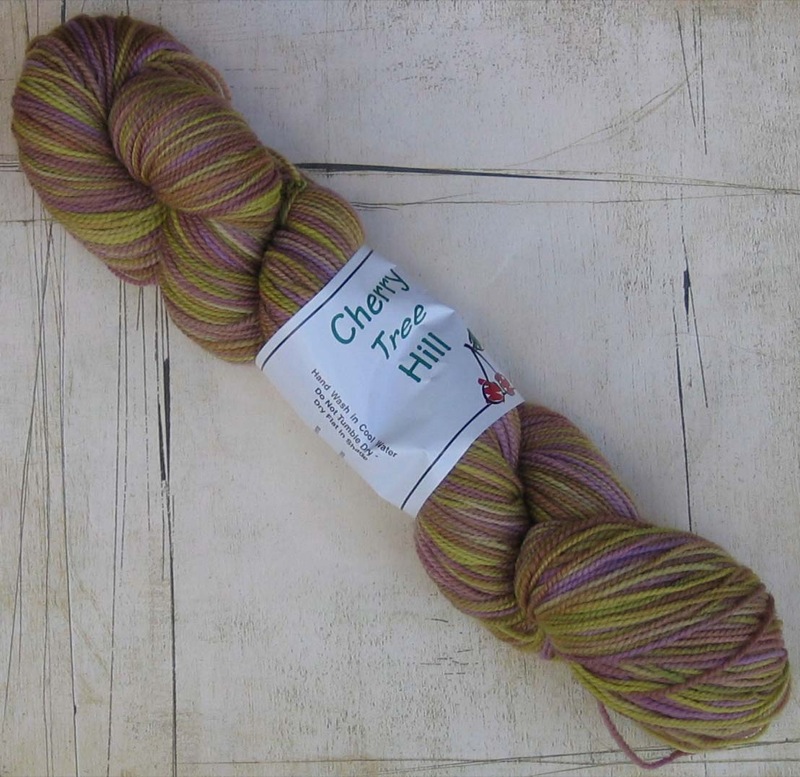
Yarn: Cherry Tree Hill Supersock Potluck. Color: Pearberry.

Needles: Hiya steel 32" circulars, US size 1 (2.25mm) Magic loop.

Pattern Review:
Easy to follow, though the lack of picture was surprisingly maddening.

There is an error in the leaf instructions, but it is easy to spot. There is "P3" where a "P2" should be in the last row. Weird, considering this pattern has been online since 1997.

The socks are worked in ribbing from the cuff down, with a traditional heel flap, and leaf lace along the top of the foot.

It would have been nice if the lace was charted, but alas, no. For a pattern lacking a picture of the finished object, perhaps a chart would be asking too much.

Modifications: None. Unless you count making a longer cuff. In which case, one.

Yarn Review: I adore Cherry Tree Hill Supersock. The base is the familiar Louet, that many sock people seem to use. It's washable (though I always hand wash) and wears well. It's not squishy soft nor is it scratchy.

A word regarding the color. They do these "potluck" or "lottery" colors which are limited edition and highly intriguing. I bought this particular oddity at The Loopy Ewe based on a tiny thumbnail picture.

I like weird colors. I like Pears and berries. This yarn is a crazy insane weird color. I like it.

Overall: A perfectly fine pair of socks. It's a basic sock, with a lot of ribbing. And the lace is on the top of the foot, where it is hard to show off. But they fit well and were a fast project.

I have no idea why this pattern is so named. There are leaves, but not like grass. Is it after the Whitman poetry collection? These particular socks seem to sing the body electric on their own. Maybe it's just so.

Tuesday, March 25, 2008

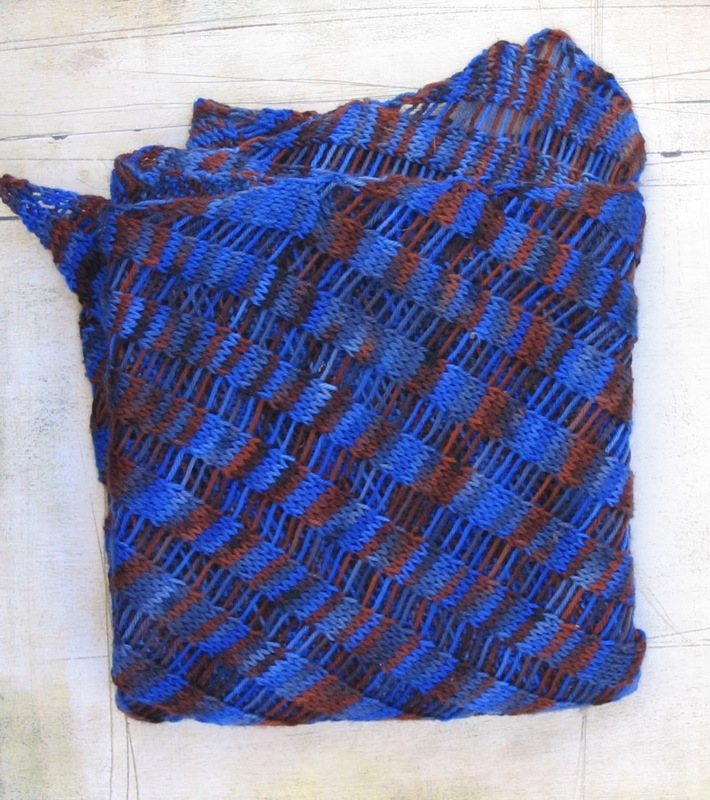
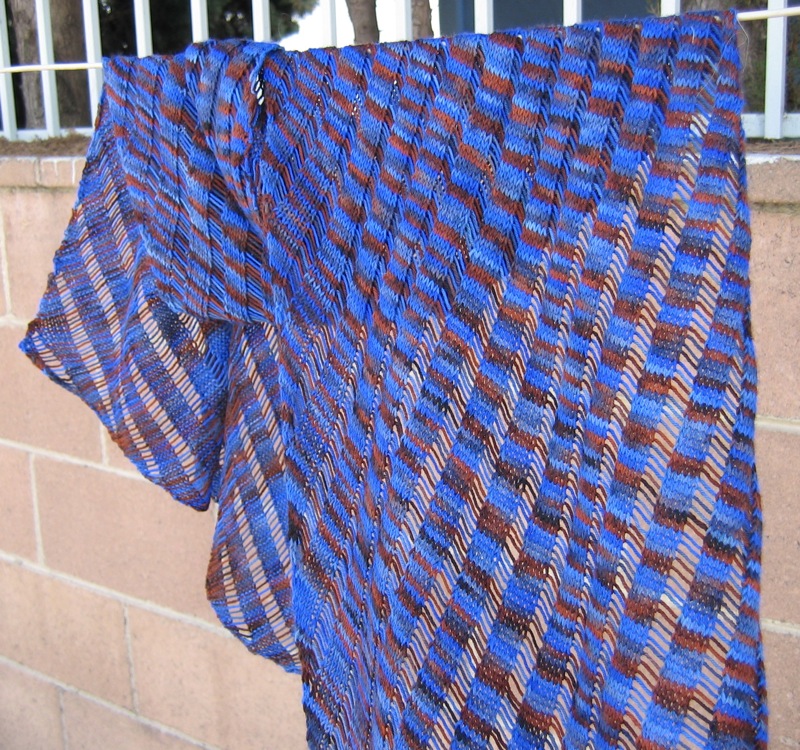
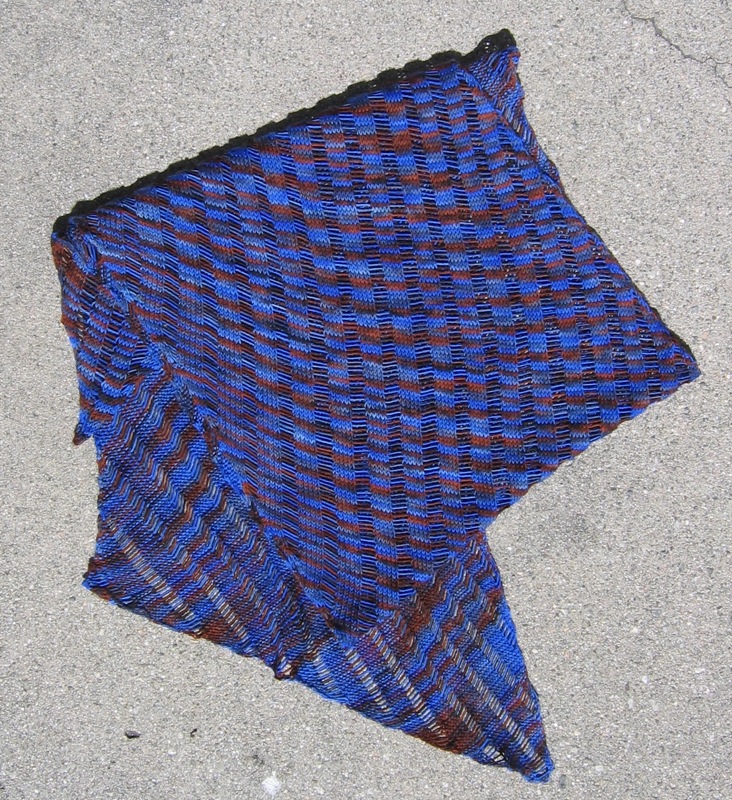
Finished Object: Clapotis

I am officially a Real Knitter. I finished knitting the most popular pattern ever: knitty's Clapotis.

And because I am the millionth Clapotis maker:

1. I am not going to make "clap" jokes.

2. I am not going to tell you how it is pronounced.

I followed the pattern as written with a few minor changes.

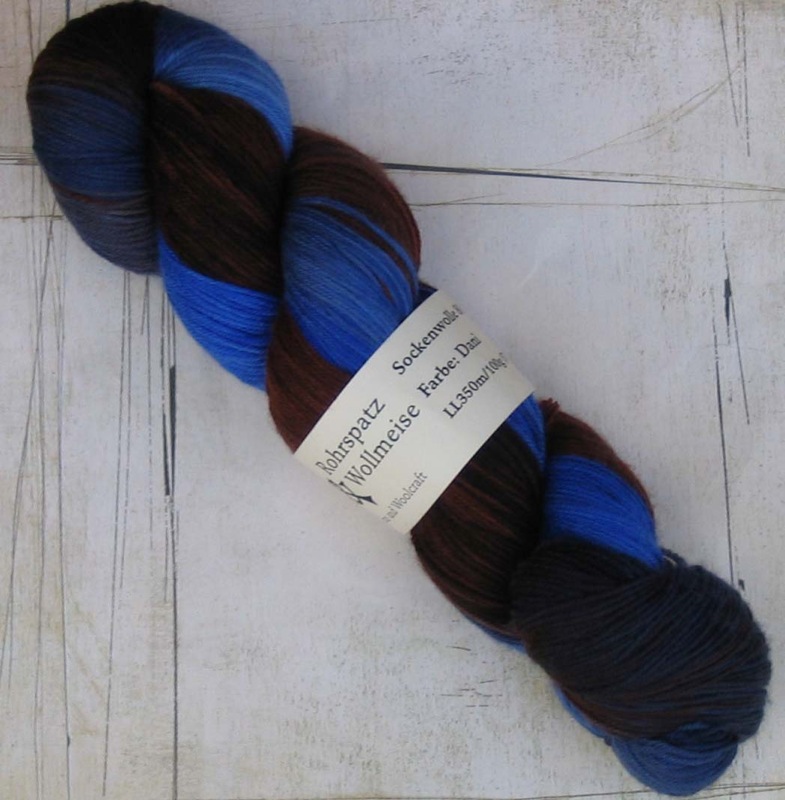
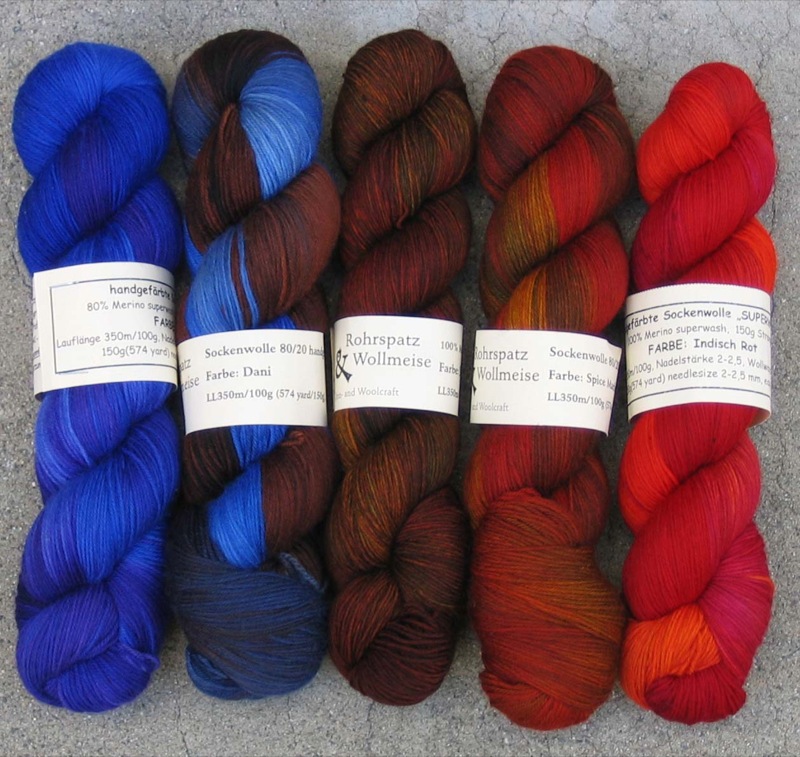
First change: yarn. I used Wollmeise 80/20 Fluffy Dani Medium.

Next: Needle size. Because this is fingering weight yarn, I went down in size and used a US 4.

Yes, you would use smaller needles for socks, but I wanted this thing to have a nice drape.

Last: Number of repeats. I added an extra set to the middle section. I could've added more.

What I would do differently: If I did this again, I would weigh the skein before starting, then weigh it after the increase section.

Then I would know how far I could go before I had to start the decreases.

Overall: Very happy with it. Of course. Great pattern + great yarn = great joy.

Now that I've finished two iconic patterns (Monkey) this year, I'm wondering what the next one will be...

That is, after round two of Sock Madness. And after I move. And after I finish this other shawl...

A knitter's work is never done!